Arch Linux is an independent distribution created in 2002 by Judd Vinet based on the CRUX distribution. The system lacks graphical configurators, but this does not prevent its free management.
The current installation Arch Linux is my 5th attempt at this system, the first 3 were performed in 2011, 2012, 2013 and via Achoo! in 2016.
For the purposes of this installation, I used the Arch linux 2024.10.01 ISO media, I performed the installation on a virtual machine, to which I assigned 20 GB of disk space, 1 processor core and 1 GB of RAM. Text mode installation does not require more computing power, but using Arch after graphical installation, with many services, requires a bit more.
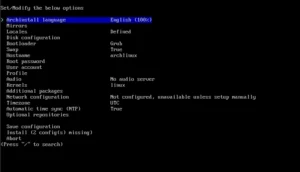
The live media is equipped with GRUB, which boots machines with UEFI or BIOS and has a text installer “archinstall”, which should be run after the live system loads.
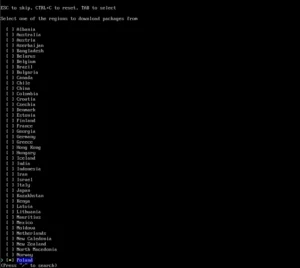
First, select the mirror server; here: Poland and the location “pl” and “pl_PL.UTF-8”.
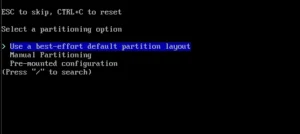
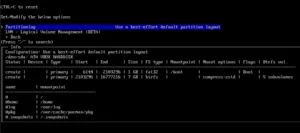
The next step is Disk configuration -> Partitioning, which allows you to use automatic partitioning, manual or previously mounted partitions (I chose automatic).
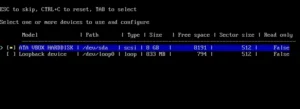
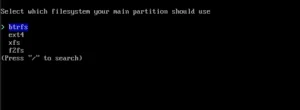
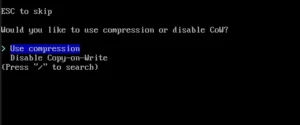
You should select the disk for installation (here: ATA VBOX), file system, subvolumes (in the case of choosing btrfs), compression and confirm the settings.
The GRUB boot loader, swap partition and hostname are configured by default, you can change them, but if you are not sure, leave these settings as they are now.
The next step is to set the root password.
and add a new user; you can also add him to the sudo group so will have the administrator privileges.
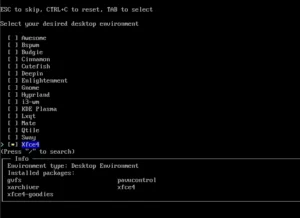
The Profile option allows you to choose one of several graphical environments and window managers, I chose Xfce.
Now you can choose the default sound server that will be installed: Pipewire or Pulseaudio.
The Kernels option allows you to choose one of a few Linux kernels; the default is the latest, but the LTS kernel is a good choice.
The Additional packages option allows you to install additional packages, the names of which must be entered manually. To be sure it will be installed, I chose “networkmanager”.
The next option Network configuration allows you to copy the network configuration from the live system to the installation, use the networkmanager or manually configure it (I chose the first option).
The next option configures the time zone, so I chose Europe/Warsaw.
The Optional repositories option allows you to enable the multilib and testing repositories, which I leave to each one individually (I don’t need them).
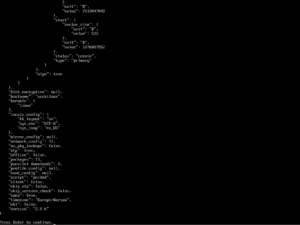
If all options are configured, you can start the Arch Linux installation by selecting Install.
At the end of the installation, the installer allows you to chroot into the installed system and apply any necessary corrections.
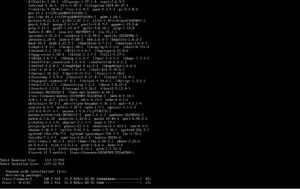
The installation of the system took about 2 minutes in the version without a desktop, and 5 minutes in the version with the Xfce desktop.
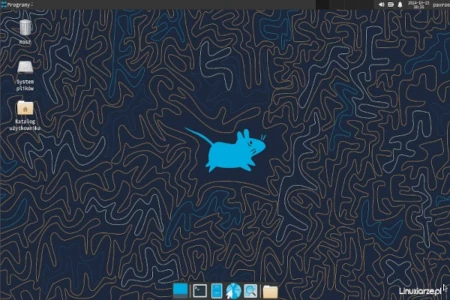
After starting the Arch Linux system from the disk, I logged in via LightDM and received a ready-to-work Xfce desktop with a minimal set of applications.
The Xfce desktop used 450 MB of RAM, which I consider a very good result.
Summary
Contrary to my earlier concerns, the Arch Linux text installer is quite well done, allowing you to configure most settings, choose a desktop, install additional packages, etc. My previous Arch installs were more mentally demanding and time-consuming.
If you are an Arch Linux lover, you can safely use the current installer to enjoy a pure, vanilla Arch Linux system.
Ten post jest dostępny również w języku polskim: https://linuxiarze.pl/arch-linux-2024-instalacja/









there are many Arch Linux forks, some of theme provides more funcionality than Arch, but… vanilla Arch gives me all I need